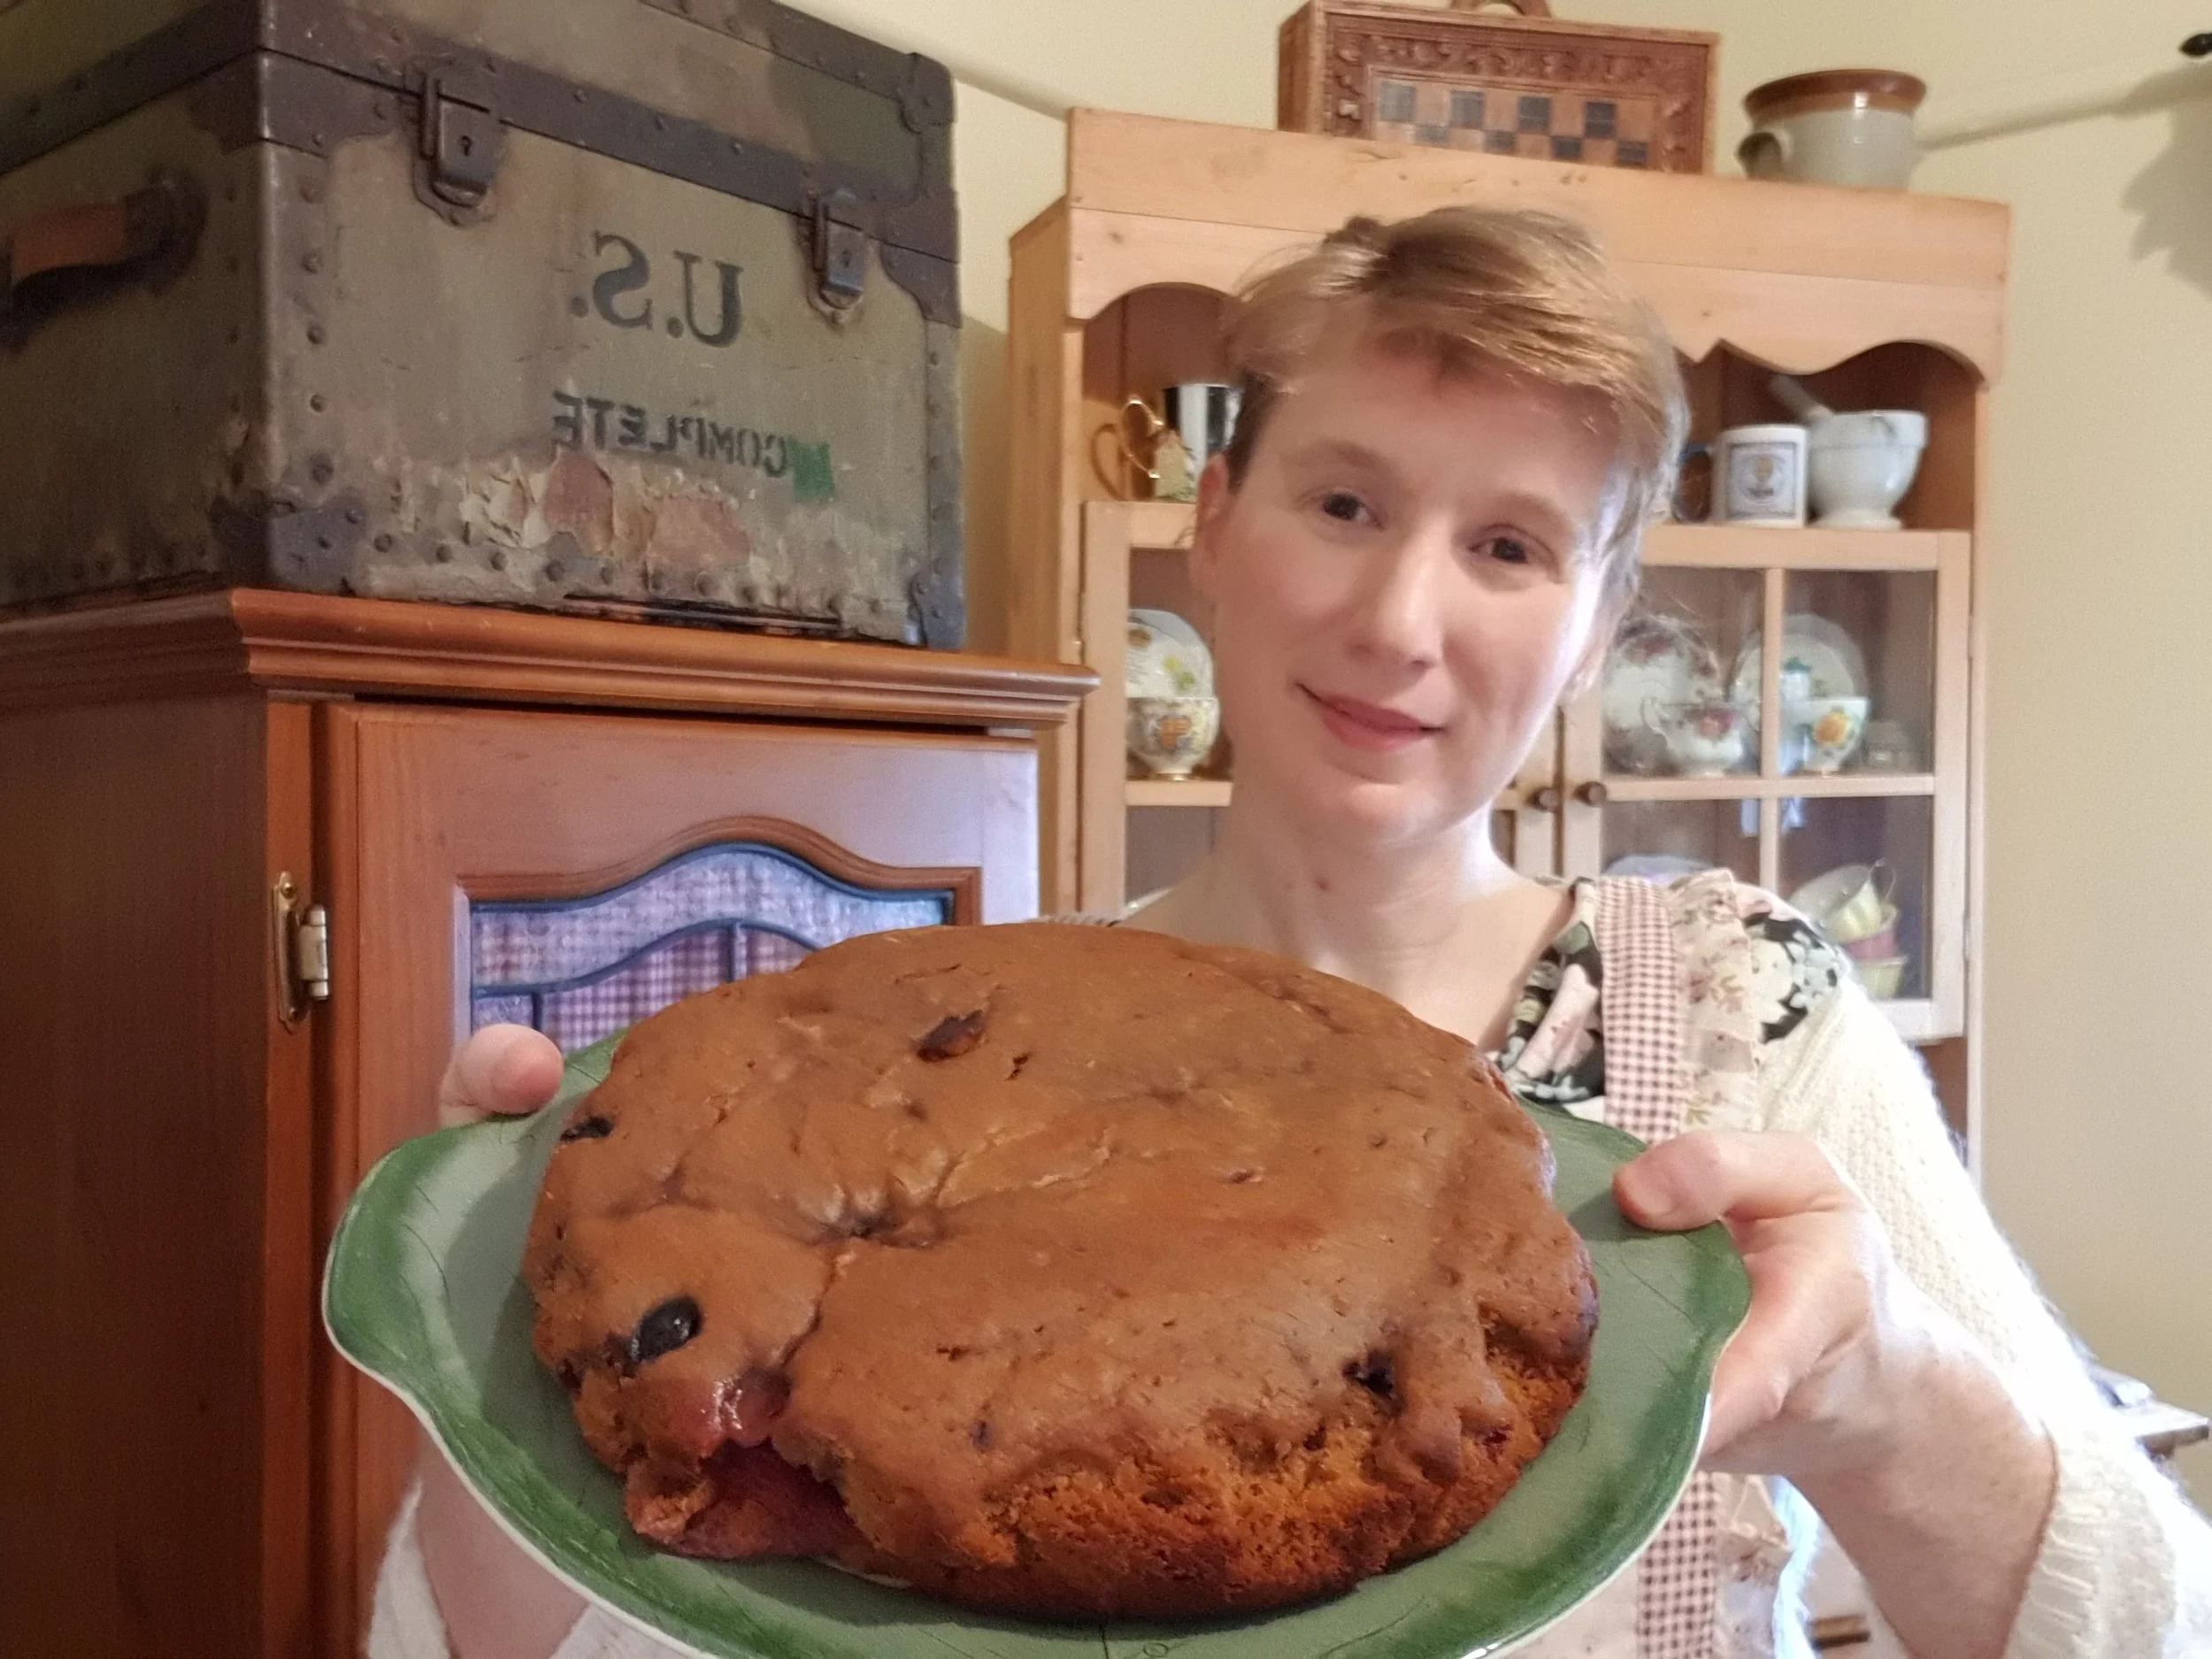
Coffee Berry Cake.
Moreish, Moist and sugar/eggs/dairy free.
This delicious, moist and moreish cake is sure to impress at your next tea party or book club. Made without eggs, cane sugar or dairy so even your most health conscience friends should be able to indulge!
Ingredients
One cup of honey
One cup of strong coffee
One cup of oil
Tablespoon of vanilla essence.
Teaspoon of cinnamon
Two and a third cups of self-raising flour.
Two cups of mixed berries (fresh or frozen are fine).
Tips
This is a delicate cake due to the lack of eggs. I strongly recommend using a cake pan that has a removable bottom if you want to avoid your lovely cake turning into a crumbly mess. If, however, it does turn into a crumbly mess, serve it up as a pudding with fresh berries, coconut cream and maple syrup. It won’t look as pretty but I’ll bet you anything no-one will complain. Still, if you want a cake, not a pudding, use a pan with a detachable base.
You can use any coffee you wish in this cake. I have made it successfully with instant coffee but there is no denying when I rouse myself to use the expresso machine, the result is superior.
Step One
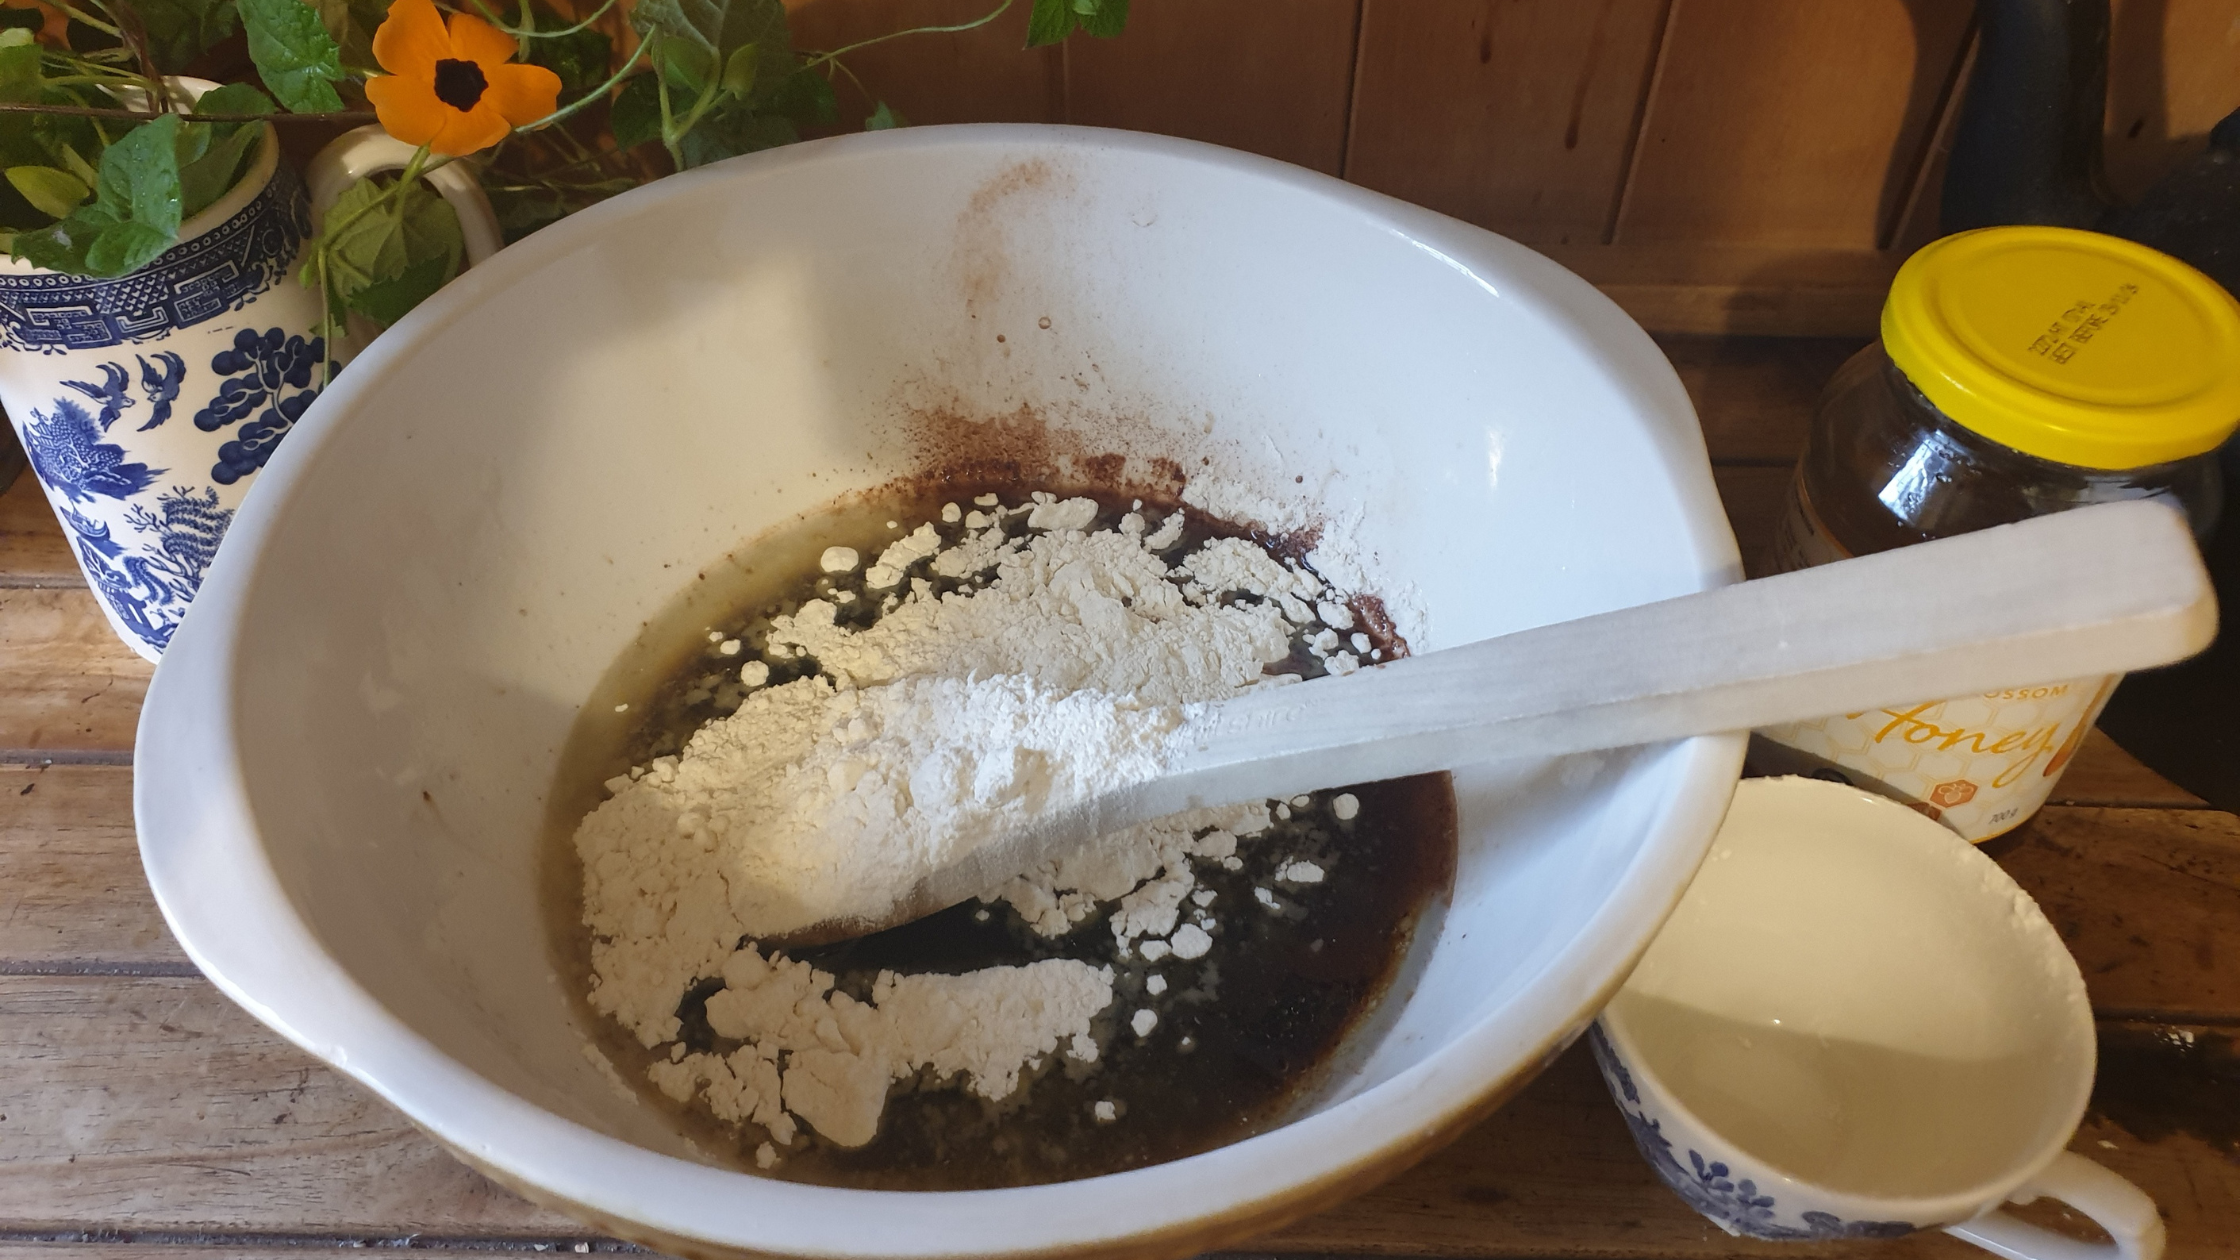
Combine the coffee, honey, oil, vanilla essence and cinnamon. Of course it won’t completely combine because oil has delusions of grandeur and won’t associate with anything but fellow oils. That’s alright. Just give it a good mix with a wooden spoon. The flour will sort it out.
Add 2 cups of flour. Hold the extra third of the cup of flour in reserve. Mix just enough to combine the wet and dry ingredients. A few flicks around with the wooden spoon should do it. Don’t overmix.
Chuck in the berries. Mix them in. You now may or may not need the extra little bit of flour you put aside. I find at the berry stage this cake always shows a bit of personality. Depending on how much juice comes out from the berries during mixing affects the consistency of the cake. The consistency should be a soft floppy batter that slightly resists your spoon but falls back on itself when you stop mixing. If it’s runny, it needs a little bit more flour. If it’s not runny, don’t add the extra flour.
Line your cake pan with non-stick cooking parchment.
Dump the batter into the pan. I like to smooth it out to the edges with a rubber spatula. Then I give the pan a nice hard smack down on the bench. Actually, I’m not sure if that smack does anything whatsoever, but it’s a lot of fun, it makes me feel like a real cook and I just bet you’ll enjoy giving your pan a good, satisfying smack on your bench too!
For some reason, this cake tends to cook fast on the top and stay soggy in the middle. This can result in a burnt, tough crust with a raw centre. How yucky! But I have found that wrapping it in foil fixes this problem. Put your foil wrapped cake in the oven for 40 minutes at 220 Celsius (that’s 428 Fahrenheit for our beloved American friends).
After 40 minutes take the cake out, remove the foil and return it to the oven for an extra five minutes to get a nice golden-brown finish. The cake should be done by now, but you know every oven tends to be a little different. A knife should come out clean and the cake should bounce back if you gently press it. Don’t overcook this cake. Its moistness is probably its nicest attribute.
Remember how I said this cake is delicate? I have found that IT WILL NOT hold together unless it is allowed to sit for about 40 minutes. It’ll still be warm but you’ll be able to safely remove it from it from the pan after 40 minutes. It’s especially nice with a strong cup of coffee but a pot of tea is good too! Enjoy!
How did you get on? Let me know on Facebook or Instagram!


